

As past posts establish, I’m a huge fan of Pinterest. I look up everything from essential oil recipes (yes, I have been interested in these, but have not taken the plunge) to ideas to re-vamp the half-bath. I’m not even kidding because the other day, I was hooked onto these Resin Driveways DIY kits I found on Pinterest and how you can put them to use .So when I discovered a DIY home decor idea on Pinterest, it had me thinking how I could create cheap tablecloths for the holidays — or any time the occasion calls for a new one.
With everyday stresses, I think people truly enjoy Christmas decorations. I have a feeling that is why people are decorating earlier and earlier each year. So even though the outside world is stressful, when you get home, it is happily decorated with elves or the tinsel animals from Target. We dove into the tinsel characters the weekend before Thanksgiving.
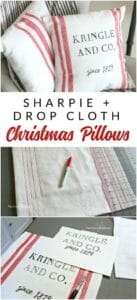
Back to the Pinterest. I started pinning ideas for popular farmhouse adornments, so I could update my Christmas decor. Also, taking up DIY projects just make me happy. I found a picture of these pillows that someone made out of a painter’s tarp and a red sharpie.
That’s when I thought that I could really use a new tablecloth. I could use this same idea from the pillow Pin. These are the steps I took to make my own farmhouse holiday tablecloth on the cheap.
1. Measure the Table
I had no idea what sizes the tarps were sold in so I thought I better know that size of my table … so smart. I’m making fun of myself because I normally get so excited to start a project that I bypass something important like measuring the table.
2. Head to Home Depot (Or Your Favorite Hardware Store)
Brent assured me that we could find fabric drop cloth for our cheap tablecloths at Home Depot, so we stopped their first. I found a canvas tarp in a size (four feet by 15 feet) that would maybe be enough for two cheap tablecloths. It’s a little shorter on the width then I would like, but I figured it was the best option … because I do not sew. Still, for about $15, I considered this a good start.
3. Pre-wash The Fabric
When I got home, I pre-washed the fabric. The width already concerned me a little, so I wanted to make sure there was no shrinkage when I start using the tablecloth.
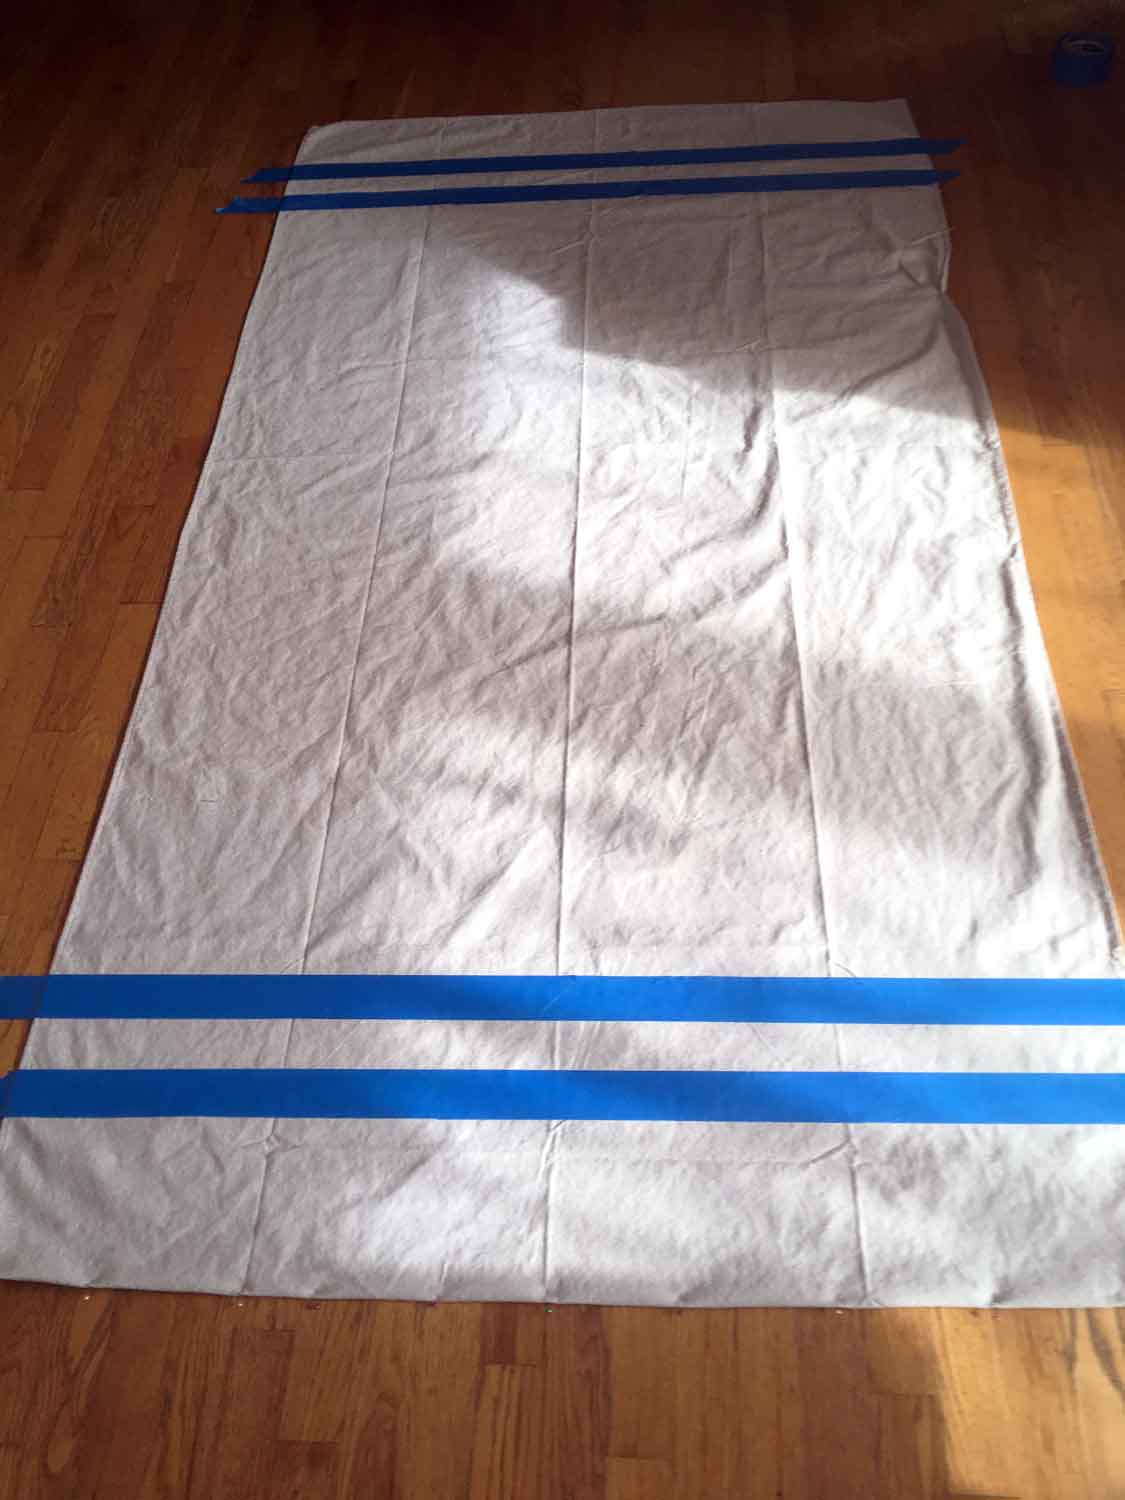
4. Put The Fabric on The Table
Because the tarp was nearly the perfect width, no cutting or sewing there. I measured the same amount of drape on the length as the width, then I cut the tarp in half.
5. Decide on How Many Lines
So many options. I went back to Pinterest to look at that original pillow Pin I liked. I used to decide on how many lines I wanted as well as the size of the lines.
6. Marked The Lines With Painters Tape
To make it easier to work, I placed fabric on the floor and marked the lines with painters tape.
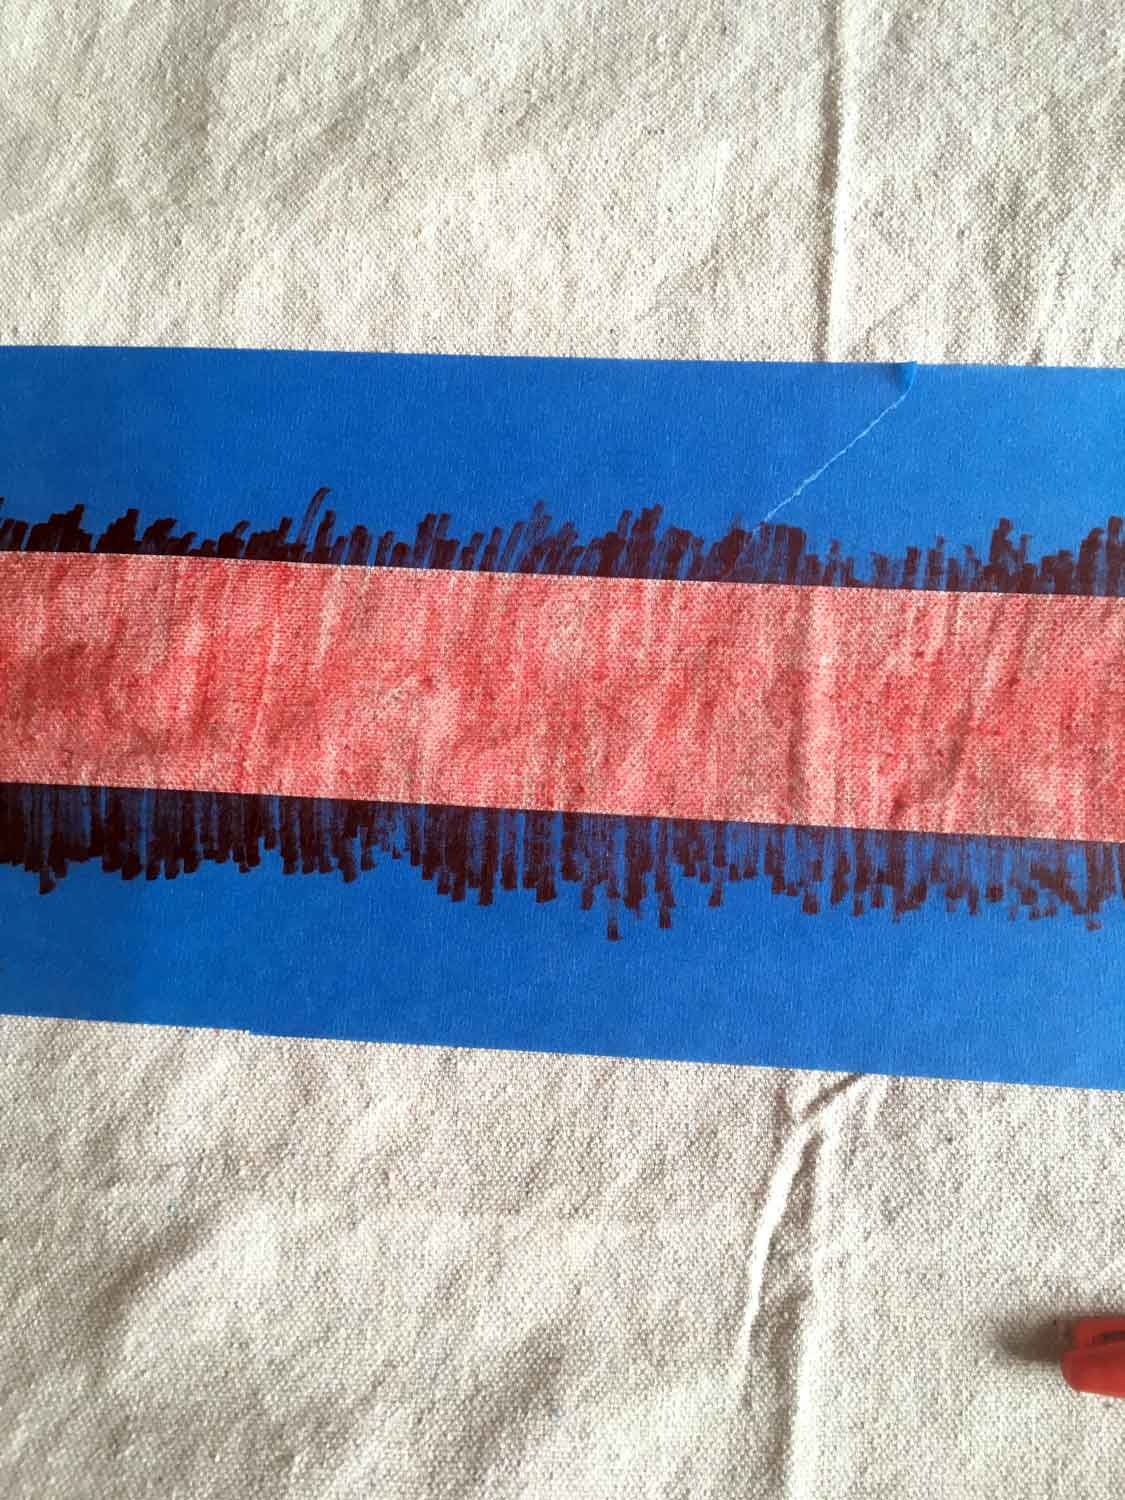
7. Color The Lines With a Sharpie
I then colored in the lines with a red sharpie. I only went over the fabric once because I thought it looked more worn. The goal was to have it look like I bought it at an antique store in Kansas City’s West Bottoms.
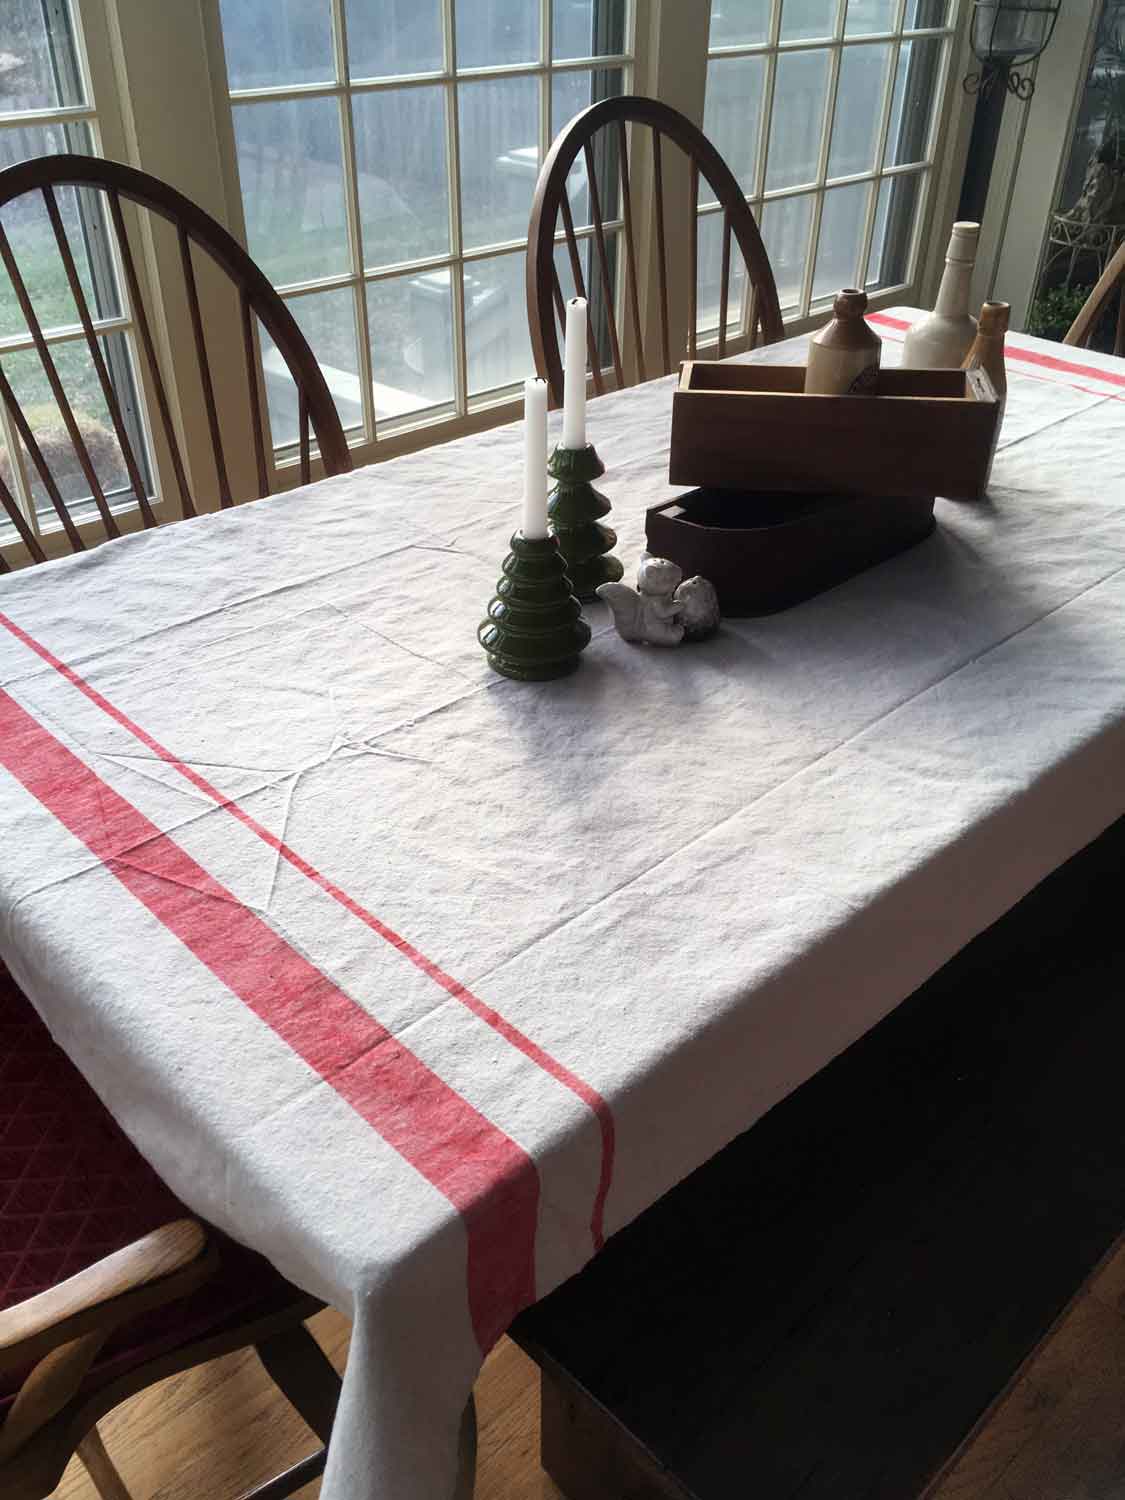
8. Glue — or Sew — The Unfinished Side
On the one side that I had to cut, I glued it with no sew.
So … cheap tablecloths. All told, completed for under $20. Here’s the end result!
I asked daughter “D” … how’s it look?
“D’s” response: “It looks rustic.”
Me: Nailed it!


")


